Fall is THE season when there are the most creative ideas at a low cost! With leaves of all colors, there's a whole bunch of activities that you can do together, thanks to the surrounding nature!
Nathalie Jard / Puisaye Tourism
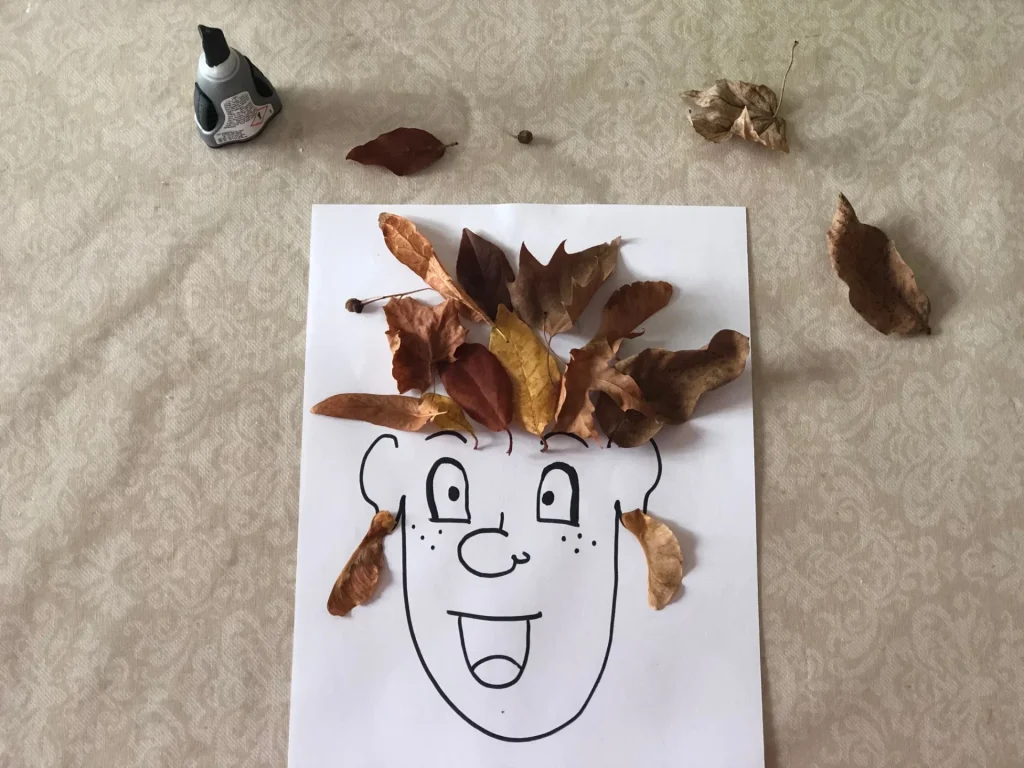
Leafy hair:
- Go for a walk and collect leaves of all colors
- Print the model or draw a face on a white sheet
- Using glue, place the leaves to create fantastic hair for the character
- Let it dry and have an exhibition of your works
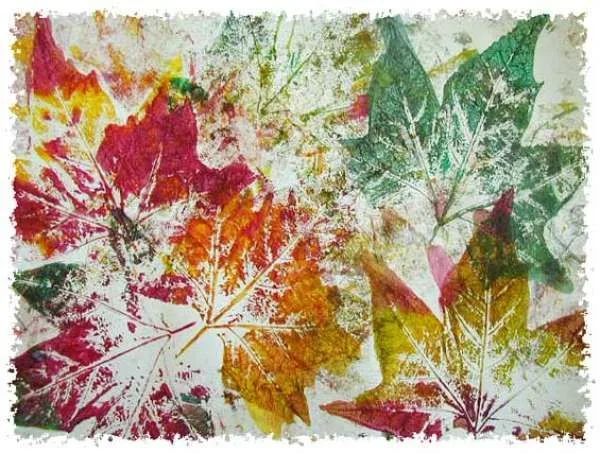
The artistic imprint:
- Go for a walk and gather several leaves, well ribbed and not too dry
- Using brushes, brush paint on one of the leaves
- Quickly apply the painted side to a white sheet
- Lightly press the tree leaf on this white sheet
- Gently peel off the tree leaf by lifting it to admire the imprint
- Vary the effects by choosing one side or the other of the tree leaf, or by creating color gradients
- Let it dry and have an exhibition of your works
Freepik
Alexandra Laurent
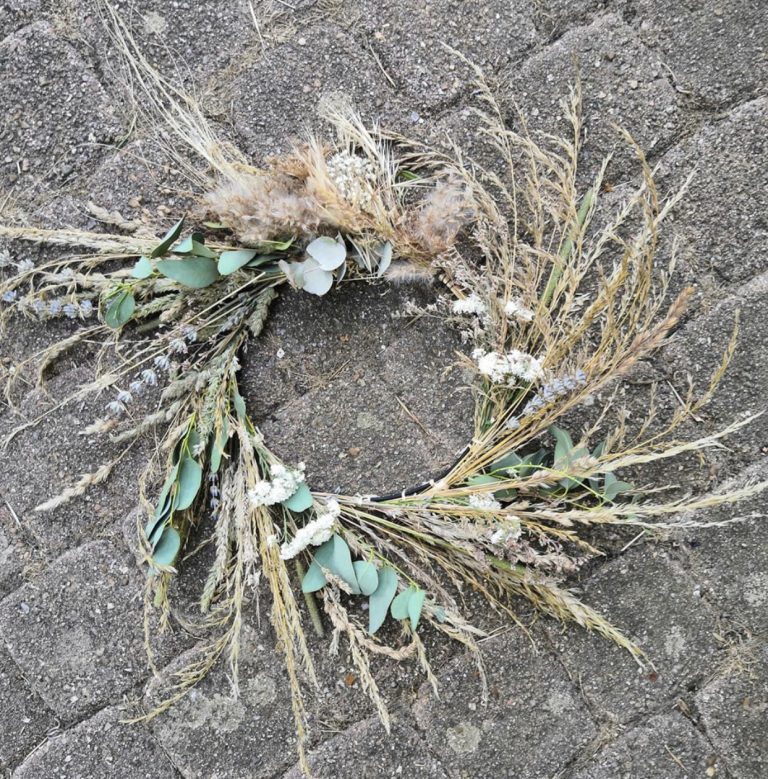
The autumn crown:
- Go for a walk and collect soft branches, whether leafy or not, pine cones, acorns, berries, petals, grasses, and anything else that will look good on the wreath
- Using raffia or string, wrapping it all around the flexible branches, create a circle
- With glue gun, place the different elements to compose the crown
- Let it dry then make a loop with string at the top so you can hang it on the nail on the front door or the children's bedroom door.
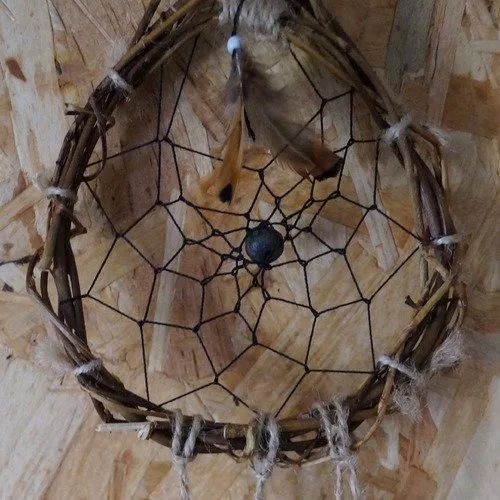
The dream catcher:
- Go for a walk and find thin, flexible branches and feathers
- Make a circle with the branches then glue and wrap raffia all around the circle
- Wait for it to dry. Draw reference points at equal distances around
- Tie one end of a 2 or 3 meter long cotton or embroidery thread onto the hoop
- Pass the thread under the circle then above, then through the loop at the next mark
- Make a second loop, respecting the same distance using your markers, as the first and continue like this all around the hoop
- The first round is finished, start the second round by passing the thread inside the first round, starting with the first loop
- Repeat the operation for several turns until you arrive at the center of the dreamcatcher's circle. Consider inserting beads at regular intervals if you wish
- Tie a knot to finish the weaving by inserting a large bead if desired
- Tie 3 threads down to attach feathers and one above to hang your creation
- Dream safely
Alexandra Laurent
*DIY: Do It Yourself: Do it yourself
Themes